Bot Installation
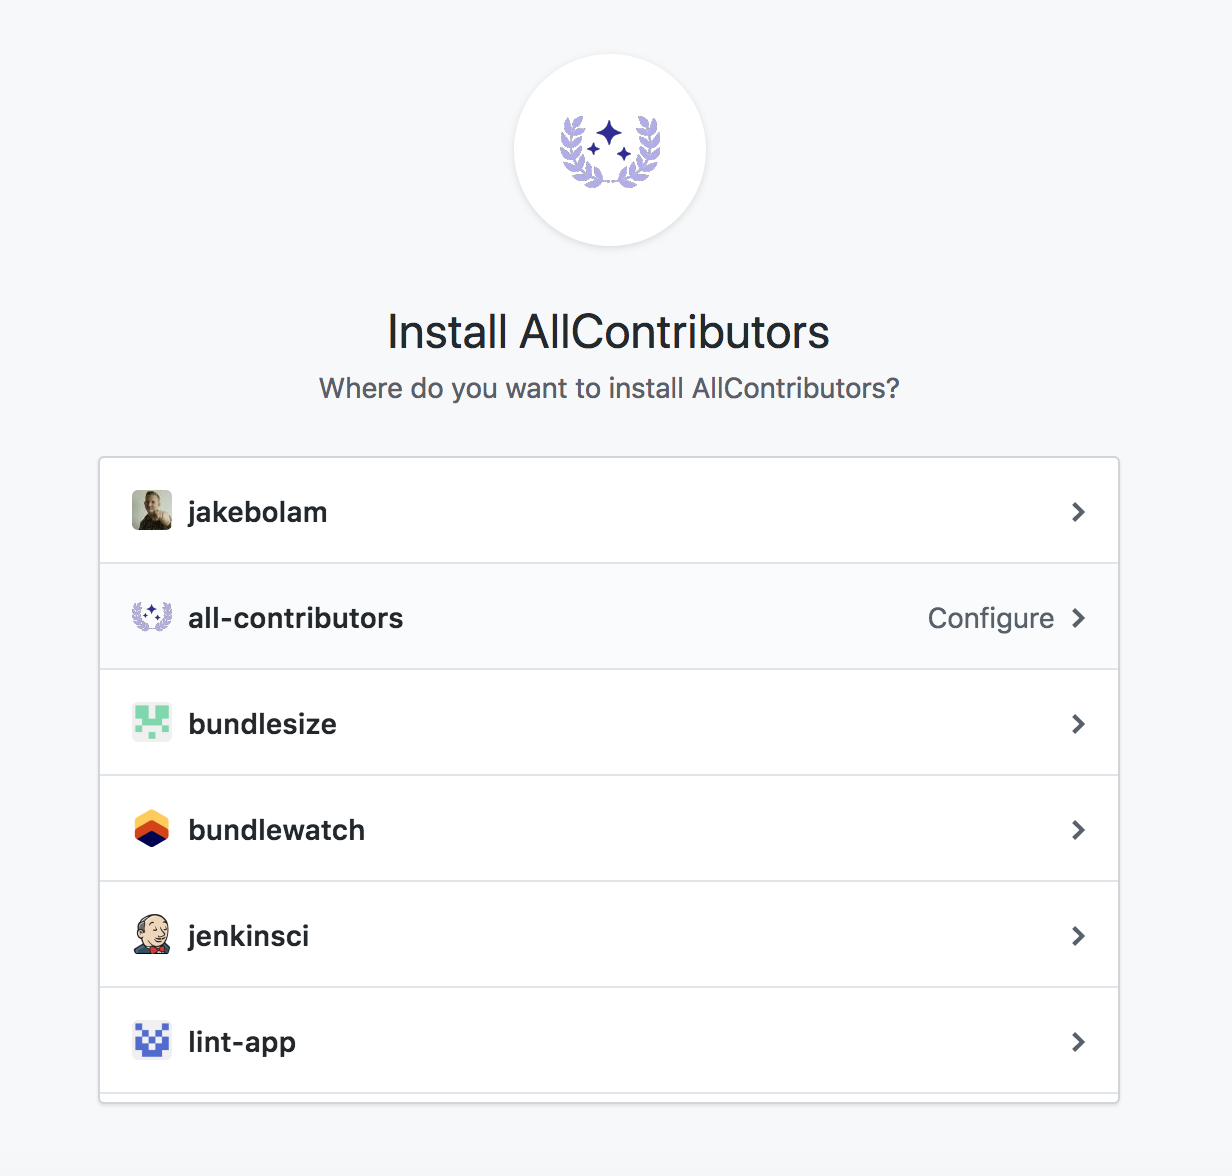
1. Installiere die AllContributors GitHub App
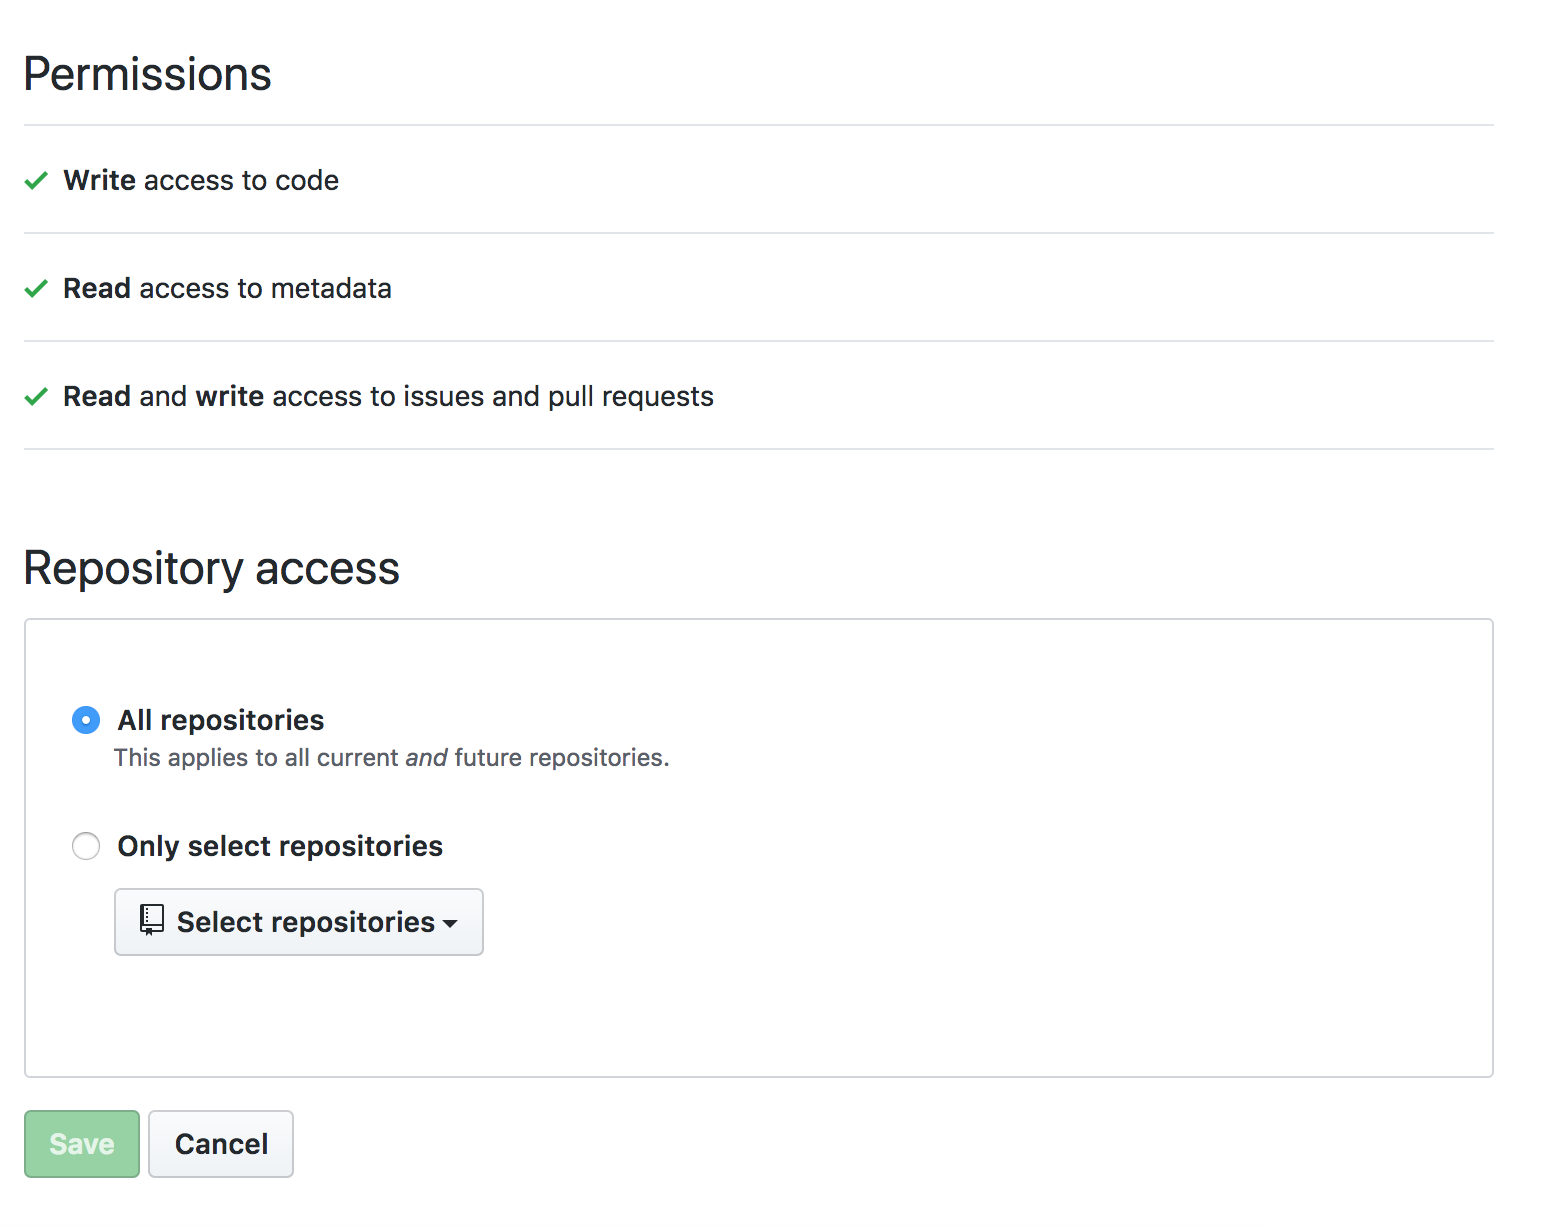
2. Konfiguriere deine Repositories

3. Erstelle eine README.md Datei
Ensure you have a README.md file at the root of the project (it can be empty).
Wenn Du die Tabelle der Mitwirkenden lieber irgendwo anders als in der README.md Datei platzieren möchtest, geht das. Verschiebe die Tabelle nach dem ersten PR des Bots. Mehr dazu findest du unter Dateien (files) in der Bot Konfiguration
Make sure to add this in the markdown:
For the list:
## Contributors

<!-- ALL-CONTRIBUTORS-LIST:START - Do not remove or modify this section -->
<!-- prettier-ignore-start -->
<!-- markdownlint-disable -->

<!-- markdownlint-restore -->
<!-- prettier-ignore-end -->

<!-- ALL-CONTRIBUTORS-LIST:END -->
Note: Extra line is very important in order to make it work properly.
For the badge use the following, replacing projectOwner with the relevant GitHub username or organization name, and projectName with the relevant the GitHub repo name. Style, color, and other parameters can be customized to your liking — see https://shields.io/.
[](#contributors)
Please create the
.all-contributorsrcfile for the first configuration. It can only have the mandatory information in it to begin. The bot will update it automatically with default config in the first PR. Here is the minimal.all-contributorsrcfile to add in your repo :{ "projectName": "<insert the repo's name>", "projectOwner": "<insert the repo's owner/orgs>" }
4. Aktualisieren der Mitwirkenden Dokumentation
Beschreibe, wenn immer möglich, in der CONTRIBUTING.md Datei oder an einem anderen geeigneten Ort wie sich Mitwirkende an Deinem Projekt zur Liste der Mitwirkenden hinzufügen können. Du kannst auch auf die Dokumentation zur Nutzung des Bots verweisen.
